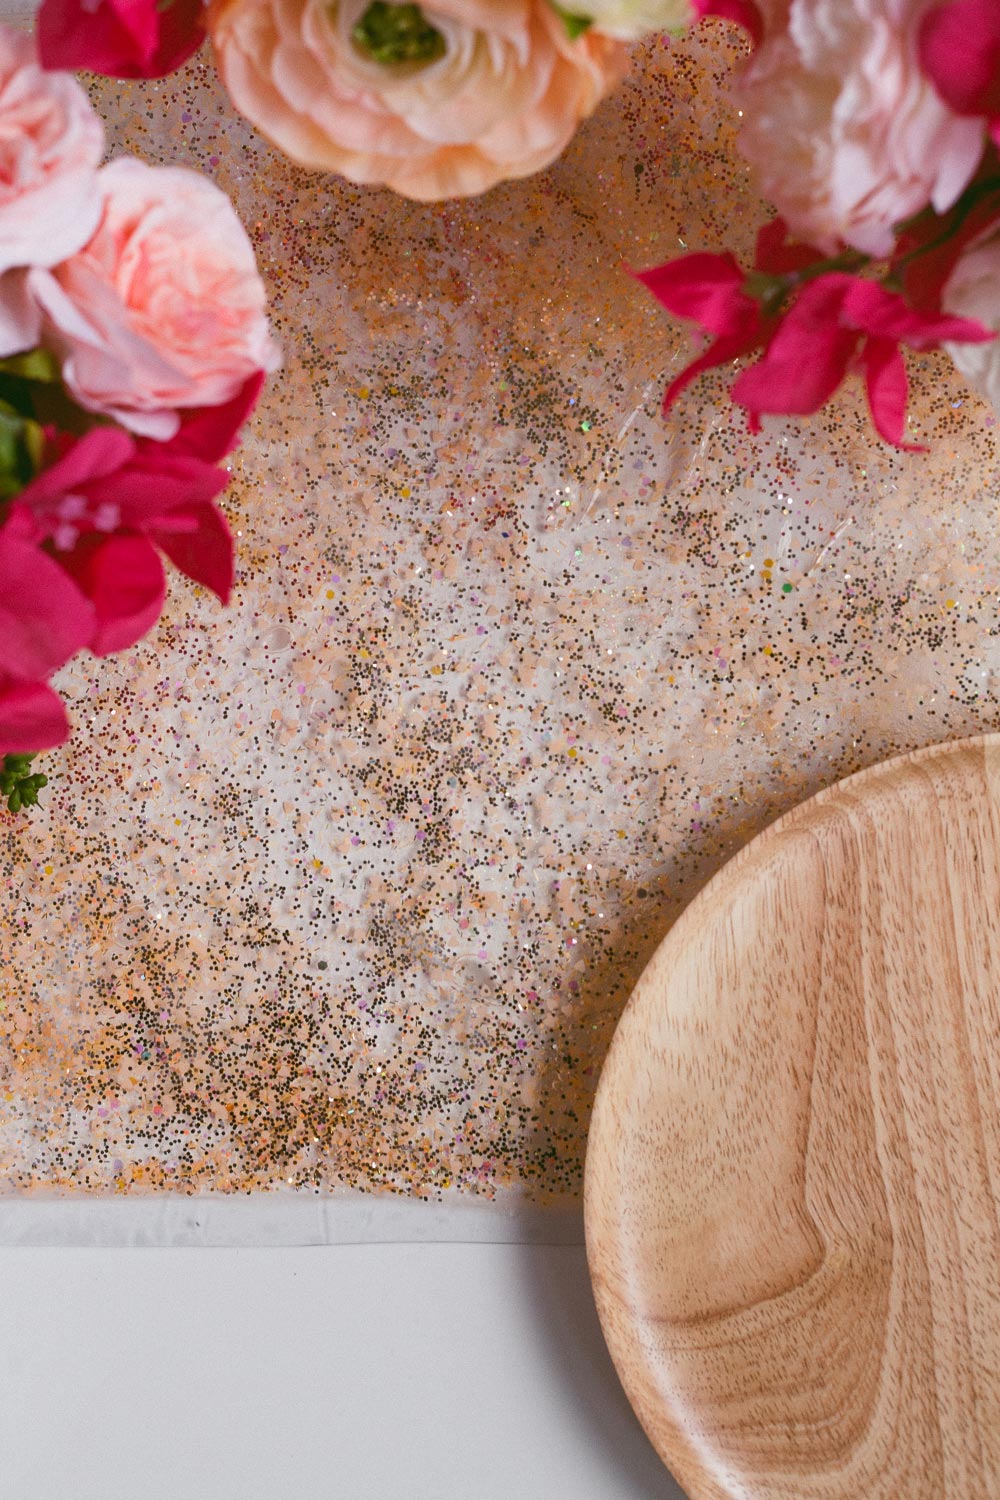
DIY Liquid-Filled Glitter Placemats
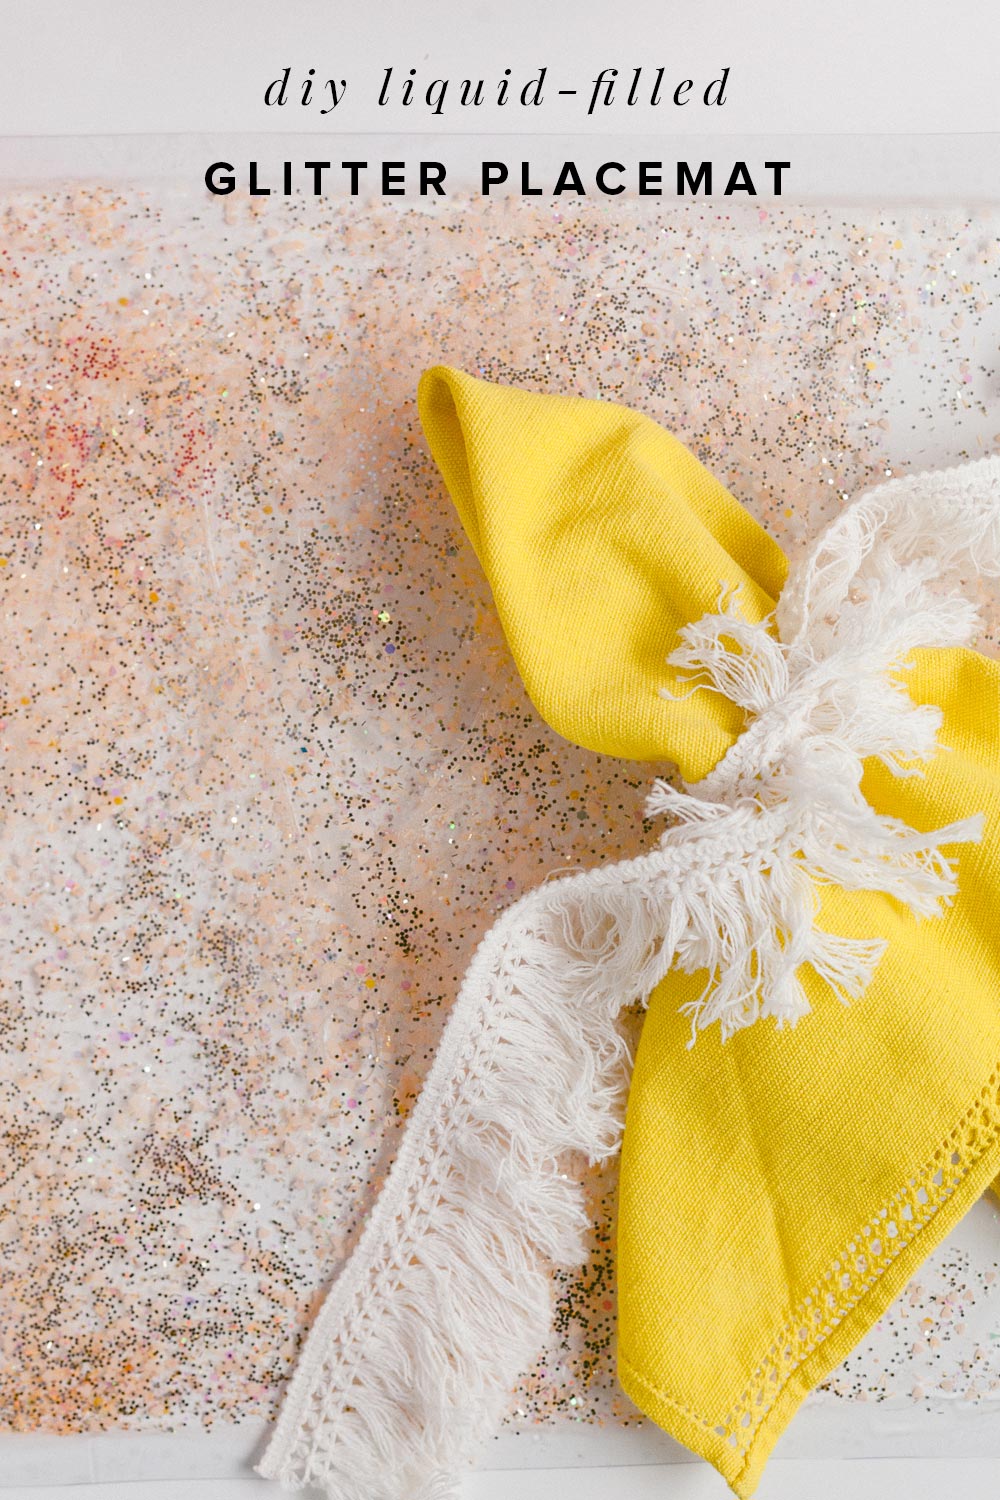
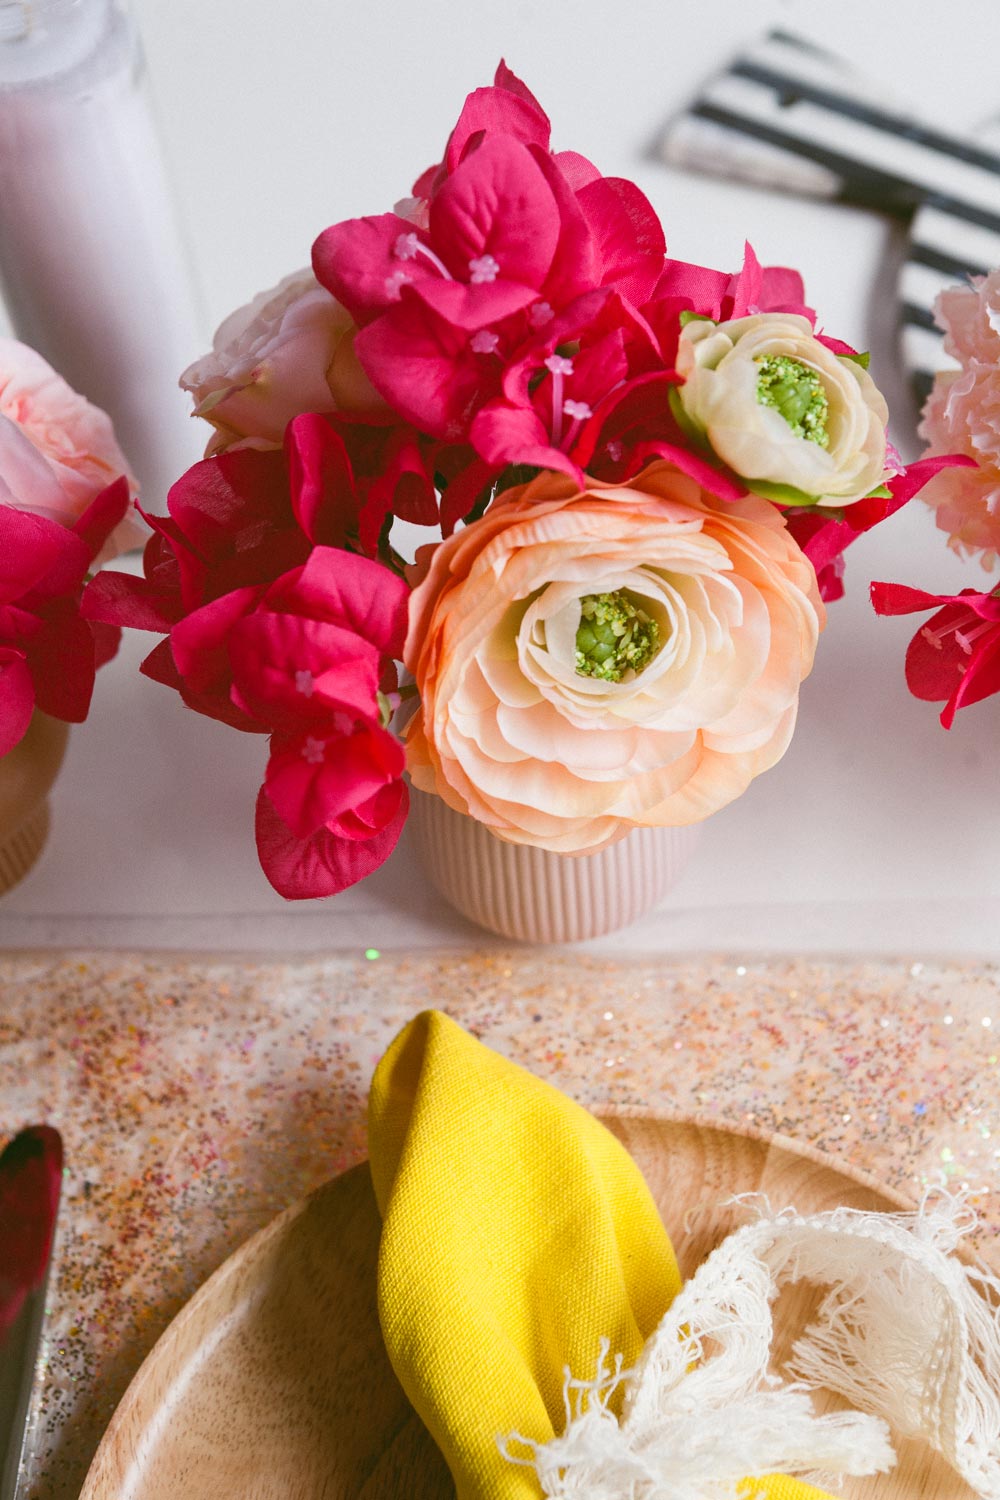
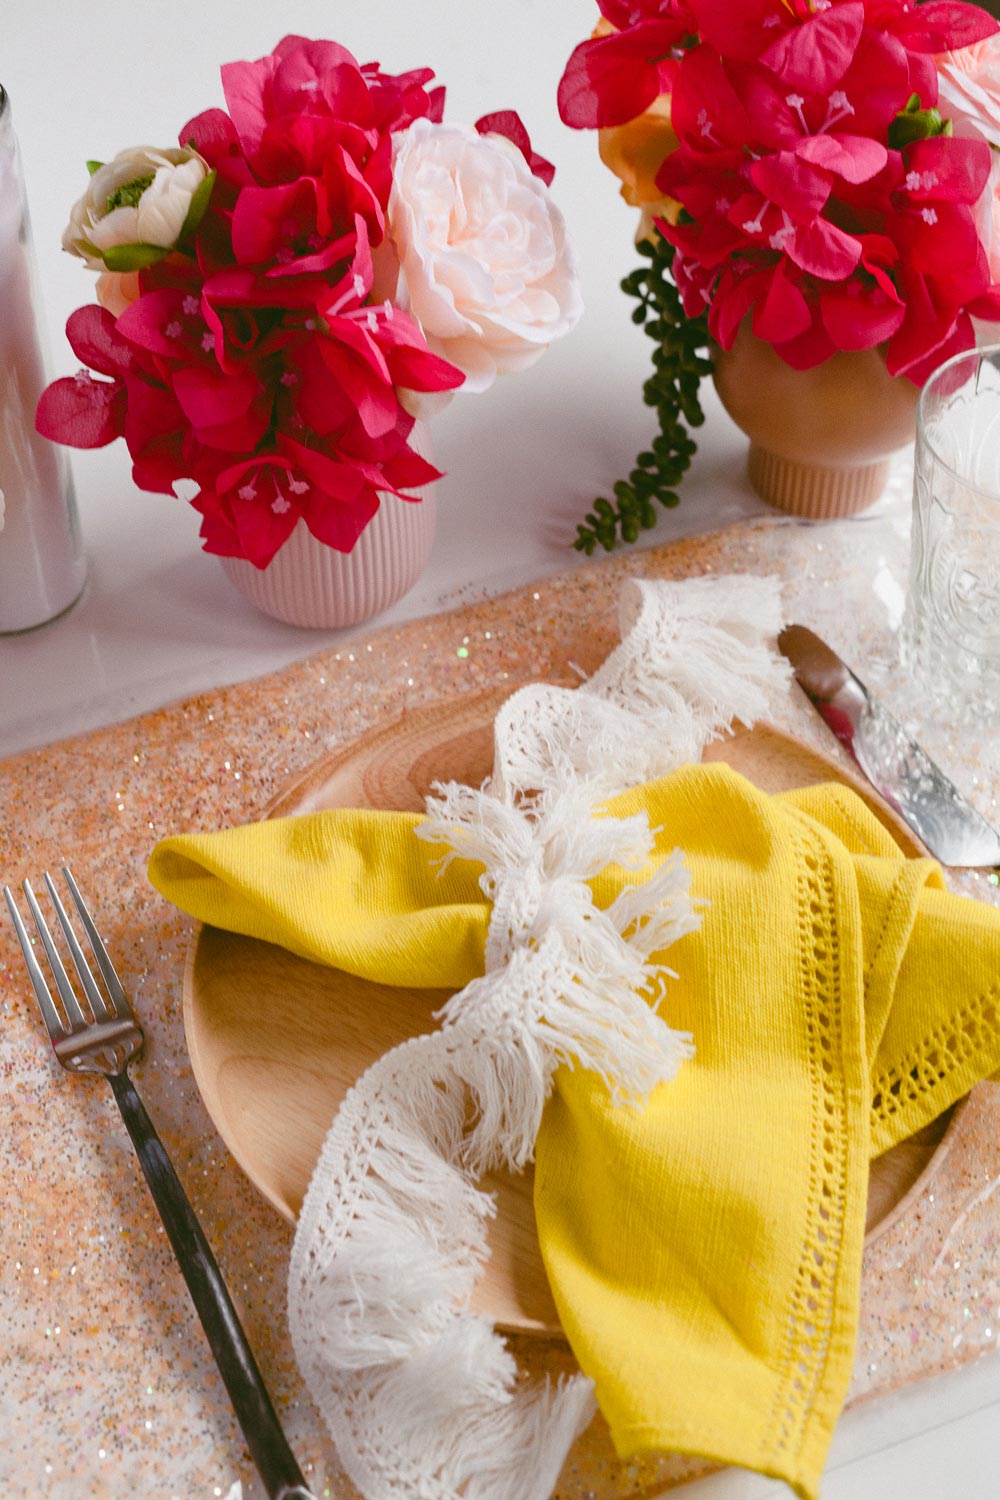
This is a project that’s impossible not to love. It involves glitter (hello) and it’s squishy and it can be made to serve many different purposes, so we’ve been giddy to share the how-to. We created a liquid-filled glitter placemat that’s perfect for a fun summer shindig, and with the help of Fiskars, we’re sharing the details to make your own below:
We’ve shared a few DIY placemats before but DIY liquid filled glitter placemats is a clear favorite (promise pun not intended).


What you’ll need:
Fiskars Amplify Mixed Media Shears 8″
Fiskars silicone mats
Clear Vinyl (I used 10 gauge but any other lightweight vinyl will do)
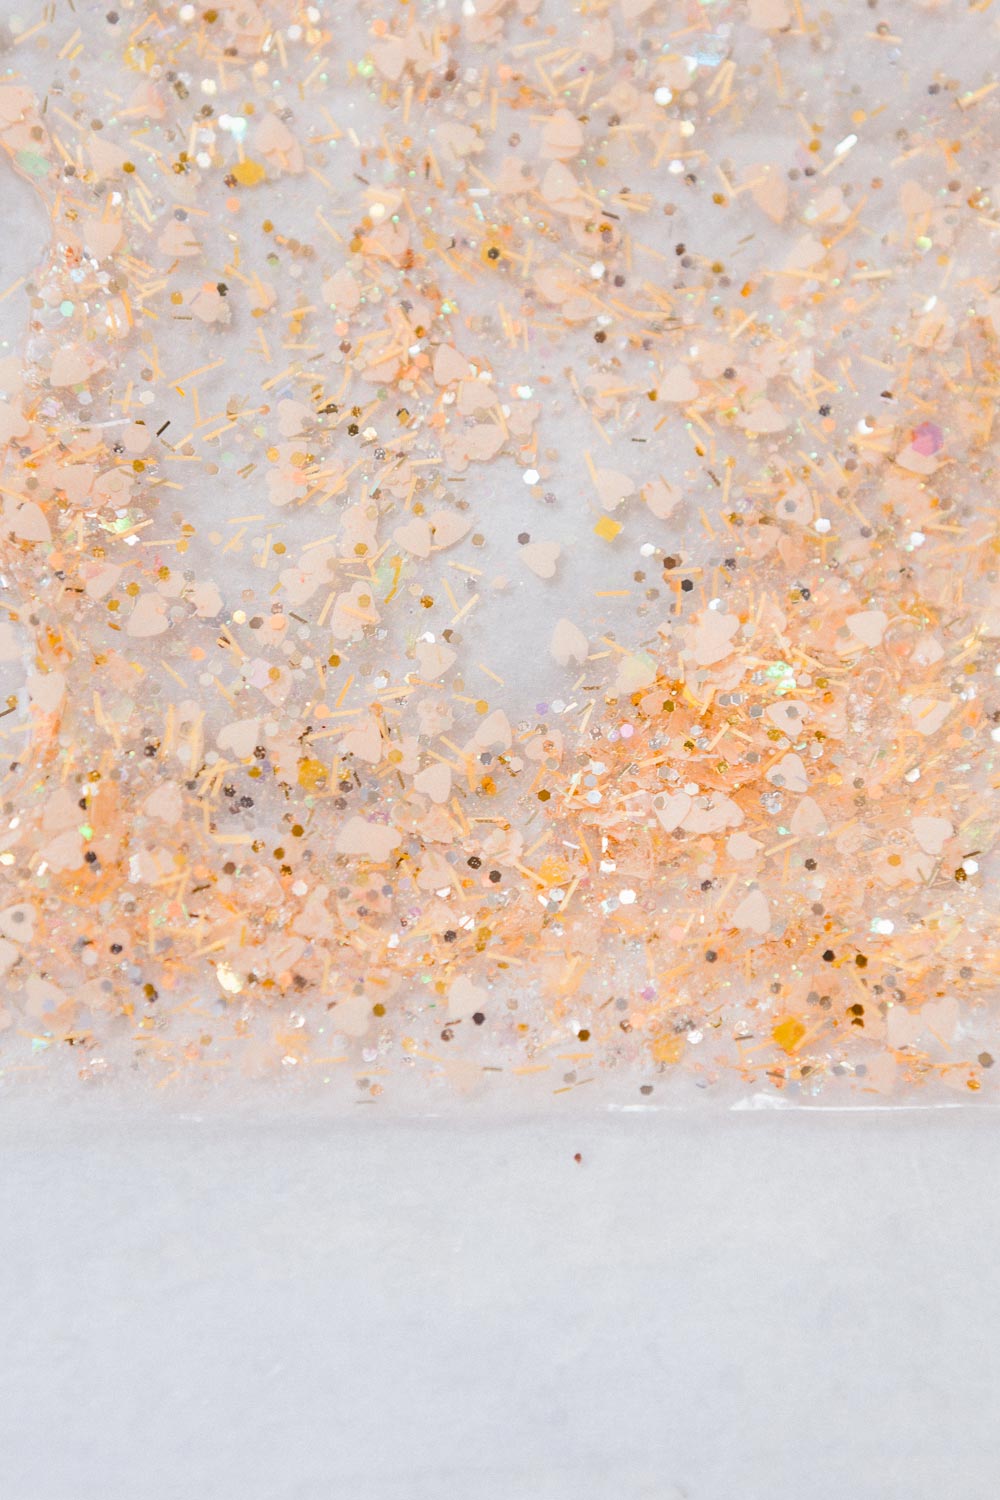
Solvent-resistant glitter
Clear liquid soap
Iron (or flattening iron)
Ironing board or mat
Wax paper

First you’ll need a template of whatever you’re planning on making. For my liquid-filled glitter project, I used a placemat I had and cut the vinyl with 1″ allowance on all sides to seal the placemat. Cut two identical pieces of the larger template with the 1″ allowance in vinyl, and a few sheets of wax paper of the same size.
You’ll need a few sheets of wax paper of the real size placemat as well. The smaller paper templates will keep the iron from fusing the placemat shut where you want the glitter to float. Add a piece of wax paper to leave an opening to add the soap and glitter.

Then you’ll make a vinyl + paper sandwich. I use my silicone mats as the base to line the table and used a thick ironing mat to protect the surface. Then I start layering a large piece of wax paper, vinyl, a wax paper template of the real size placemat, vinyl, and another large piece of paper on top.
These Fiskars silicone mats are great for protecting surfaces from paint, glue and in this case, soap. It’s a quick cleanup and they roll up for easy storage.
With a hot iron, without a steamer (it will warp the vinyl), start ironing the edges to fuse the vinyl pocket shut over an ironing mat. Remember to leave an opening with a piece of paper so you can add the soap later!

Wait for the ironed edges to cool off, and slowly add your clear soap in the pocket. Then add a sprinkle of glitter. You can also pre-mix the soap and glitter first.


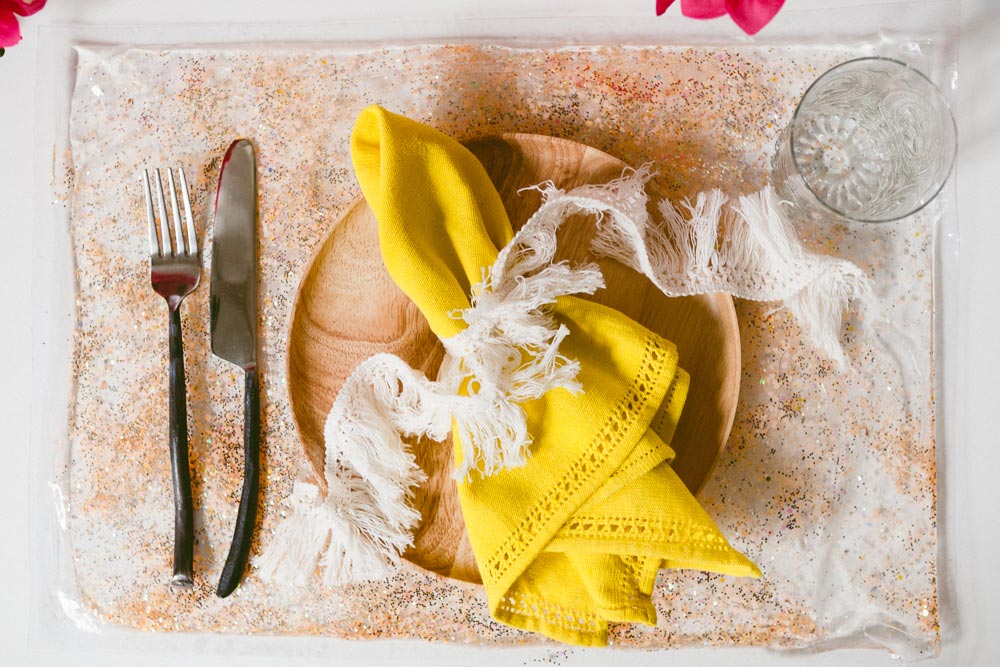
Once the placemat is filled with soap and glitter, iron out the remaining opening shut. Gently push the soap over the sealed edge to test for leaks.

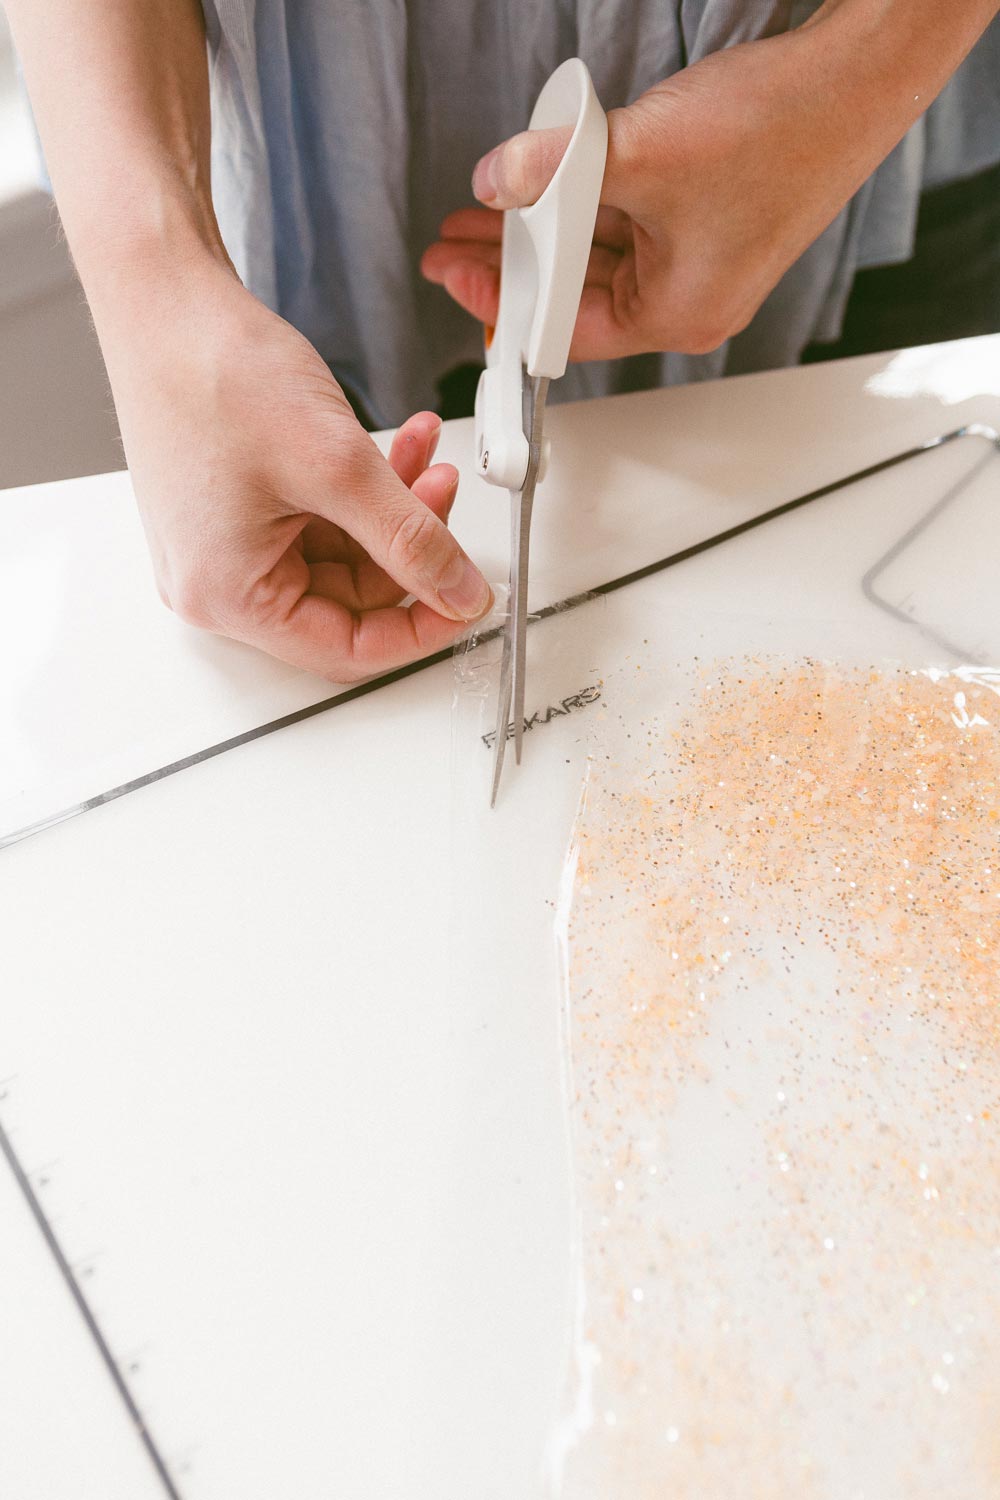
Using my Amplify Shears, trim the excess and you’re done. The Amplify Mixed Media shears are perfect for this type of project because it can handle thicker materials with one smooth glide, which means clean cuts!
You can make so many things with a squishy shiny liquid-filled vinyl. I’ll make a pencil pouch and share it soon in our Insta stories!


Check out their website or follow Fiskars on Facebook, Twitter, Instagram and Pinterest.