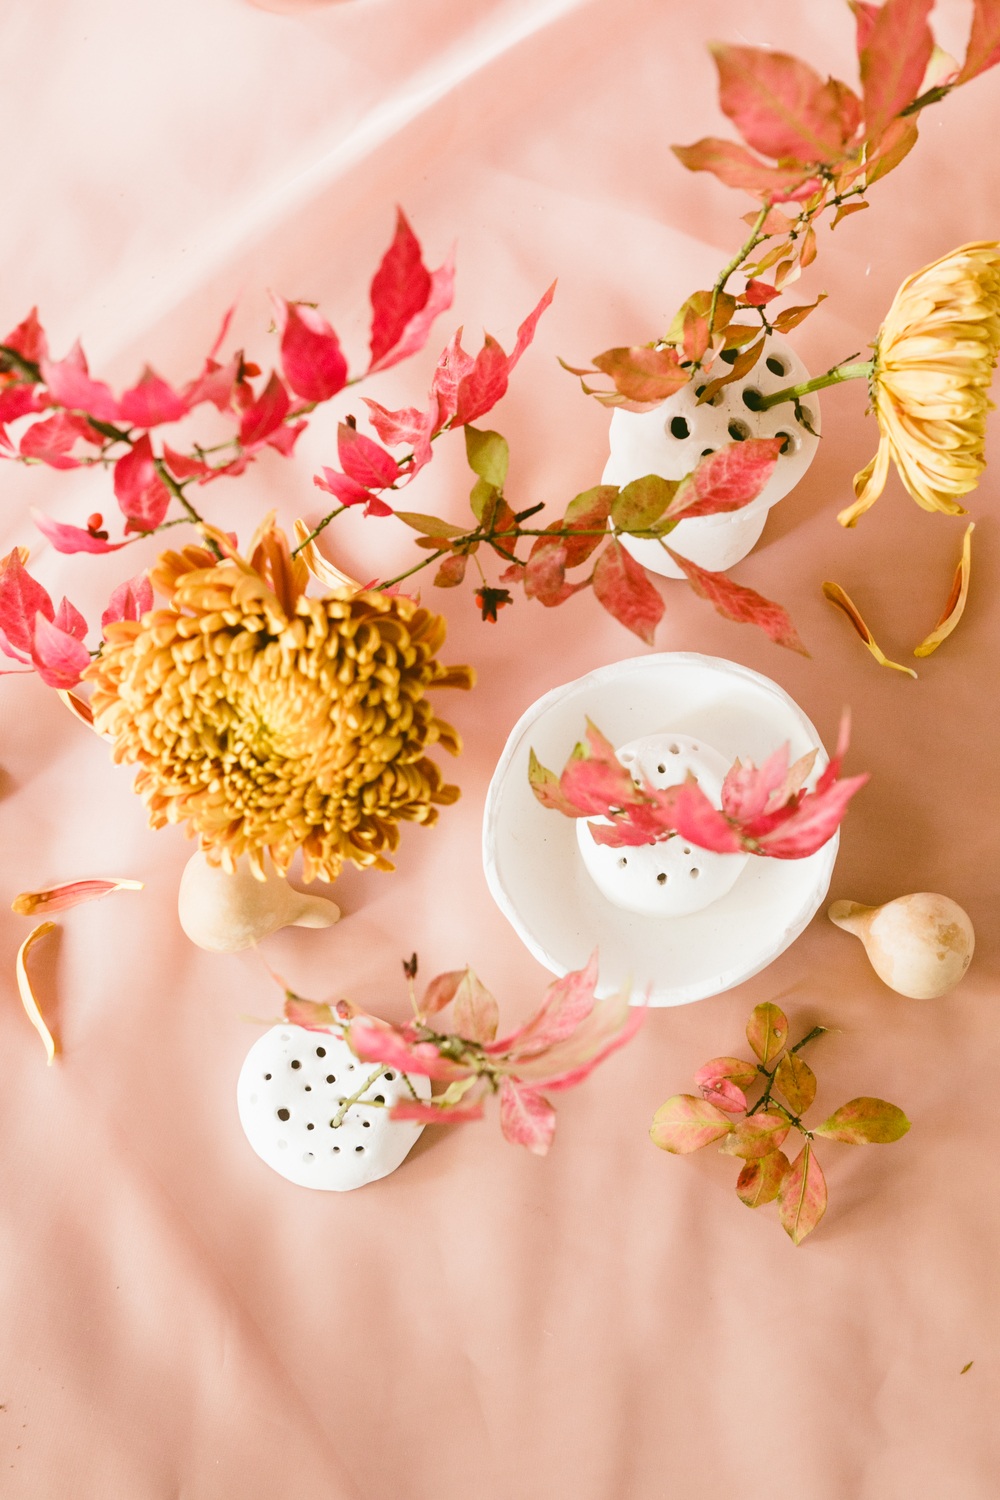
For the Flower Lovers: DIY Clay Flower Frogs
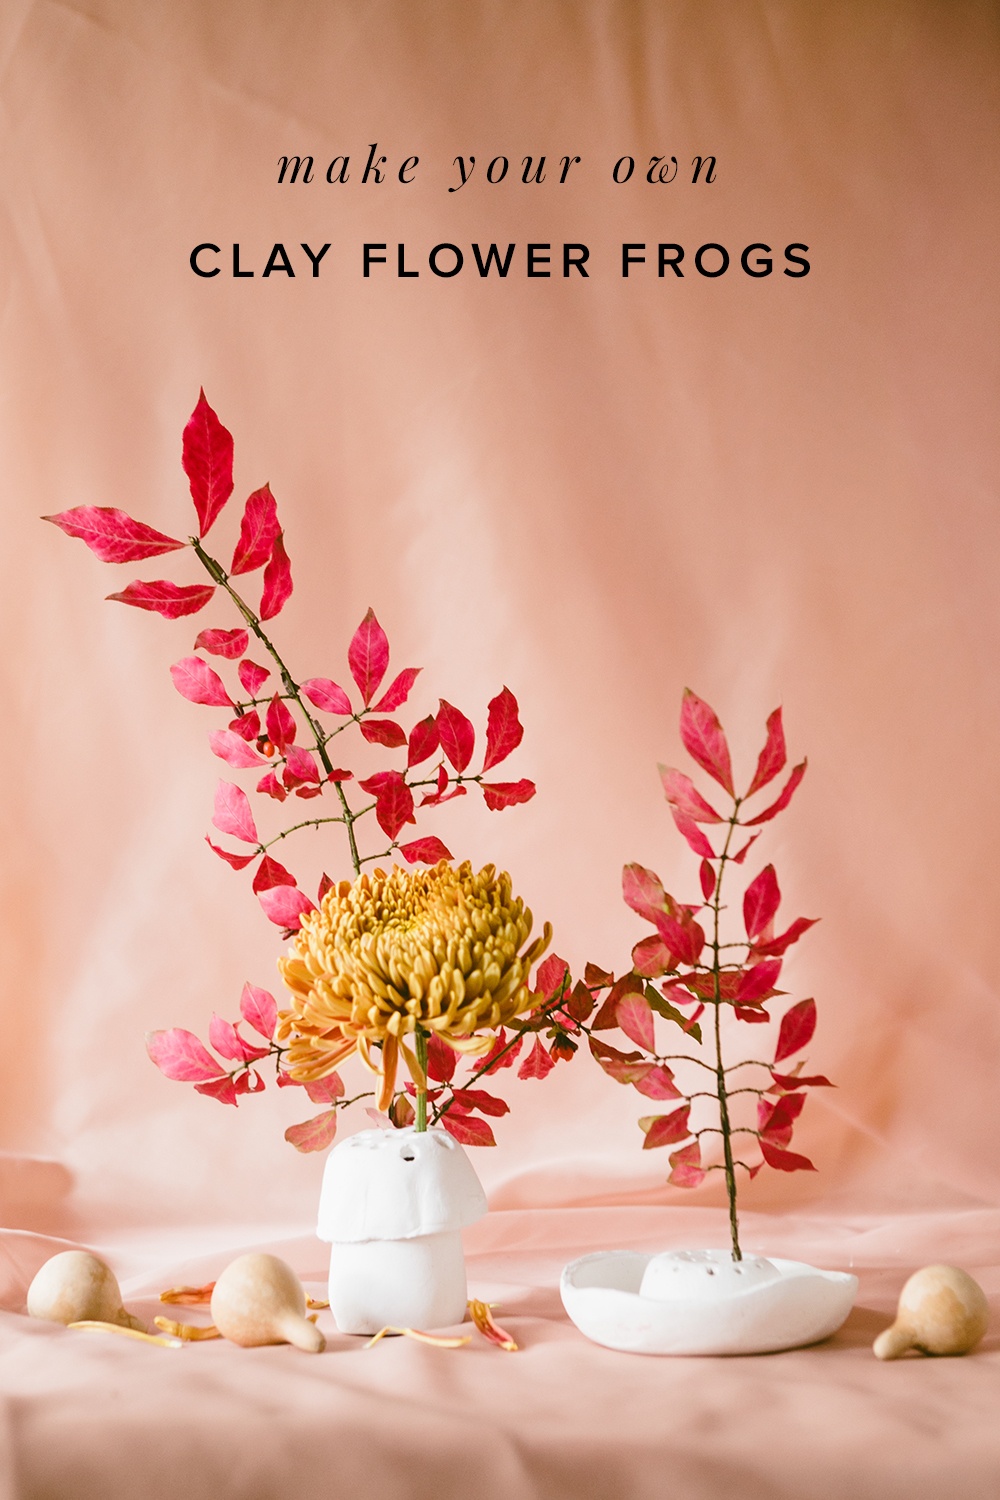
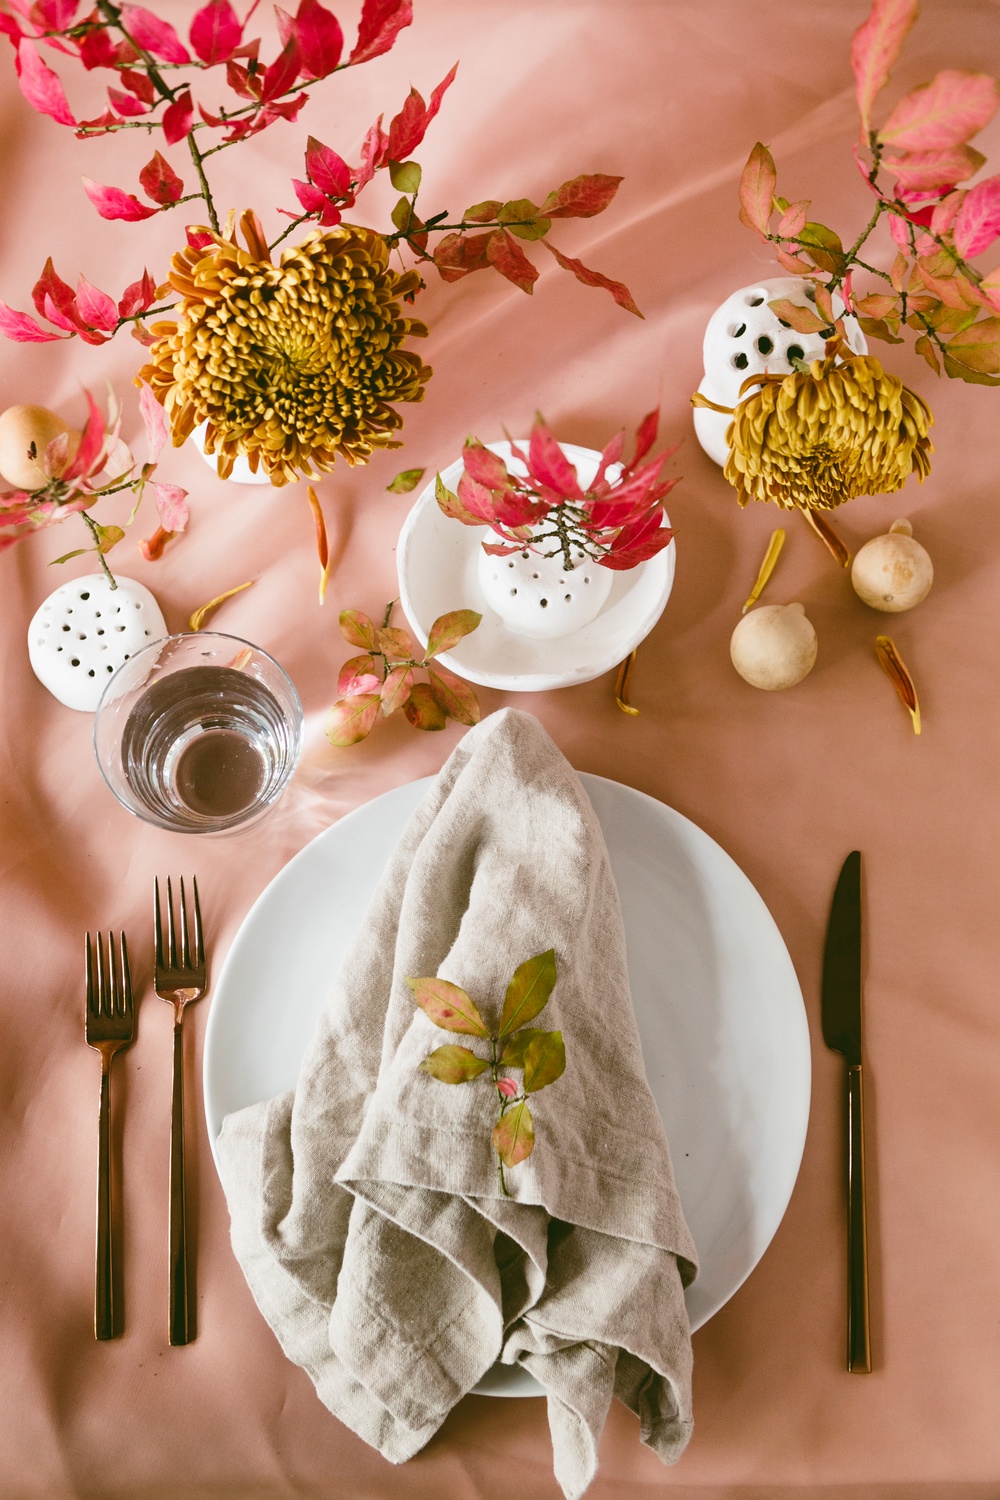
I’m going to guess you don’t mind Fall one bit. Vibrant + changing color palettes with mild weather? Sign us up. These DIY clay flower frogs are the perfect display to the beautiful foliage you can find anywhere in this part of the country these days, decorate with dried florals or fresh delicate blooms to set the table.

If you haven’t stocked your DIY drawer (or craft room, we don’t judge) with Fiskars Craft Knives, you’re missing out. The set comes with many different blades for different purposes and makes projects like these that much easier.
What you’ll need:
- Fiskars Craft Knife
- Fiskars Amplify Scissors
- White air dry clay
- Clear cast resin
- Bambo sticks, skewers or straws

DIY Clay Flower Bowl
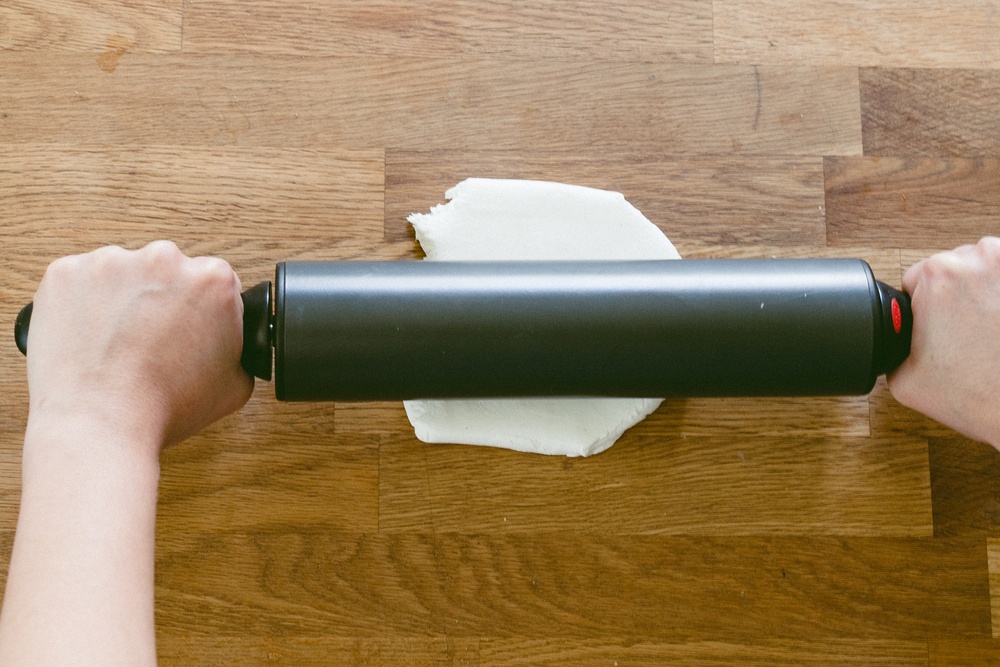
Start rolling the clay with a rolling pin. You don’t want too thin, otherwise, the floral frogs will collapse. Mine was about 1/4″ thick.
To make the shallow bowl, I used a small kids plastic bowl. Lay the bowl on top of the clay sheet and with the craft knife, cut the bulk of it while leaving a few inches around the bowl diameter.
Everyone needs a craft knife, and this set is particularly great because you can easily switch the blade to different ones depending on what you need. It comes with 12 blades total: three standard #10 curved blades, five standard #11 blades, two #16 scoring blades and two standard #17 chisel blades for precisely cutting a wide range of materials such as cardstock, photos, canvas and more. The neat box that they come with is compact and is a safe storage solution to lose blades in envelopes (…ah you know..).
Flip the bowl upside down and gently start wrapping the clay around the edges. Once you have a snug fit, run the craft knife again around the edges to cut to desired height.
Gently wiggle the clay bowl out of the mold and cut with scissors any disparaging tall ends. Put it back on the mold to dry. I used my Amplify shears for this one, it’s been my go-to scissors for mixed media materials. The difference from your regular scissors and Fiskars Amplify® shears is that it has it senses blade separation when cutting thick materials, which means you get clean cuts every time. Perfect for a potentially sticky project like this one!
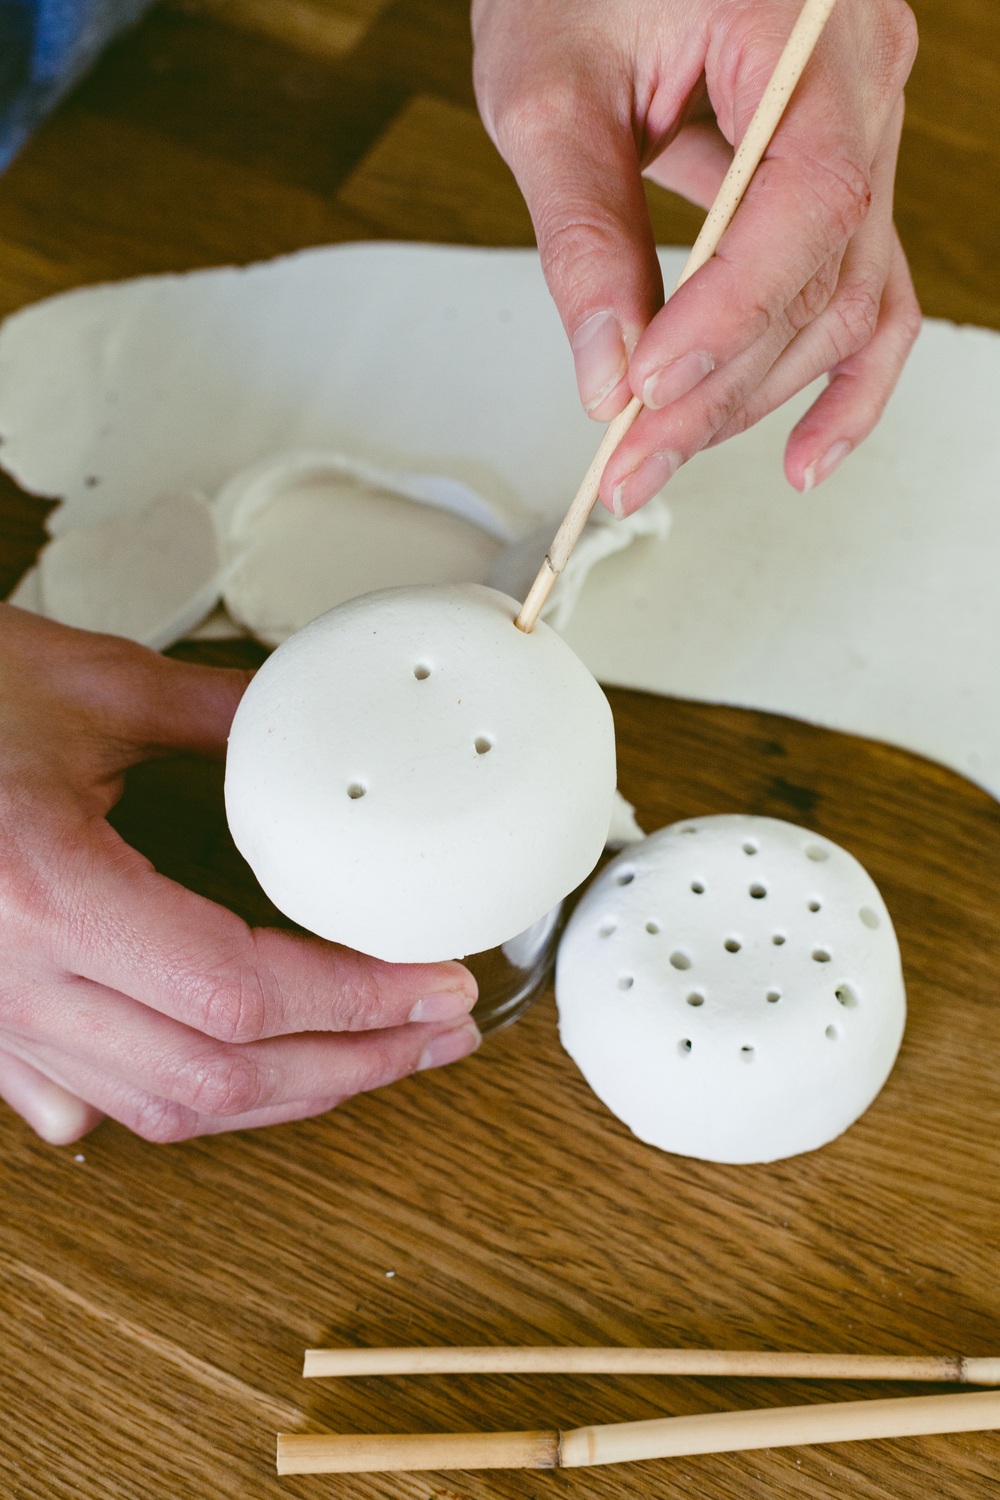
DIY Clay Flower Frogs
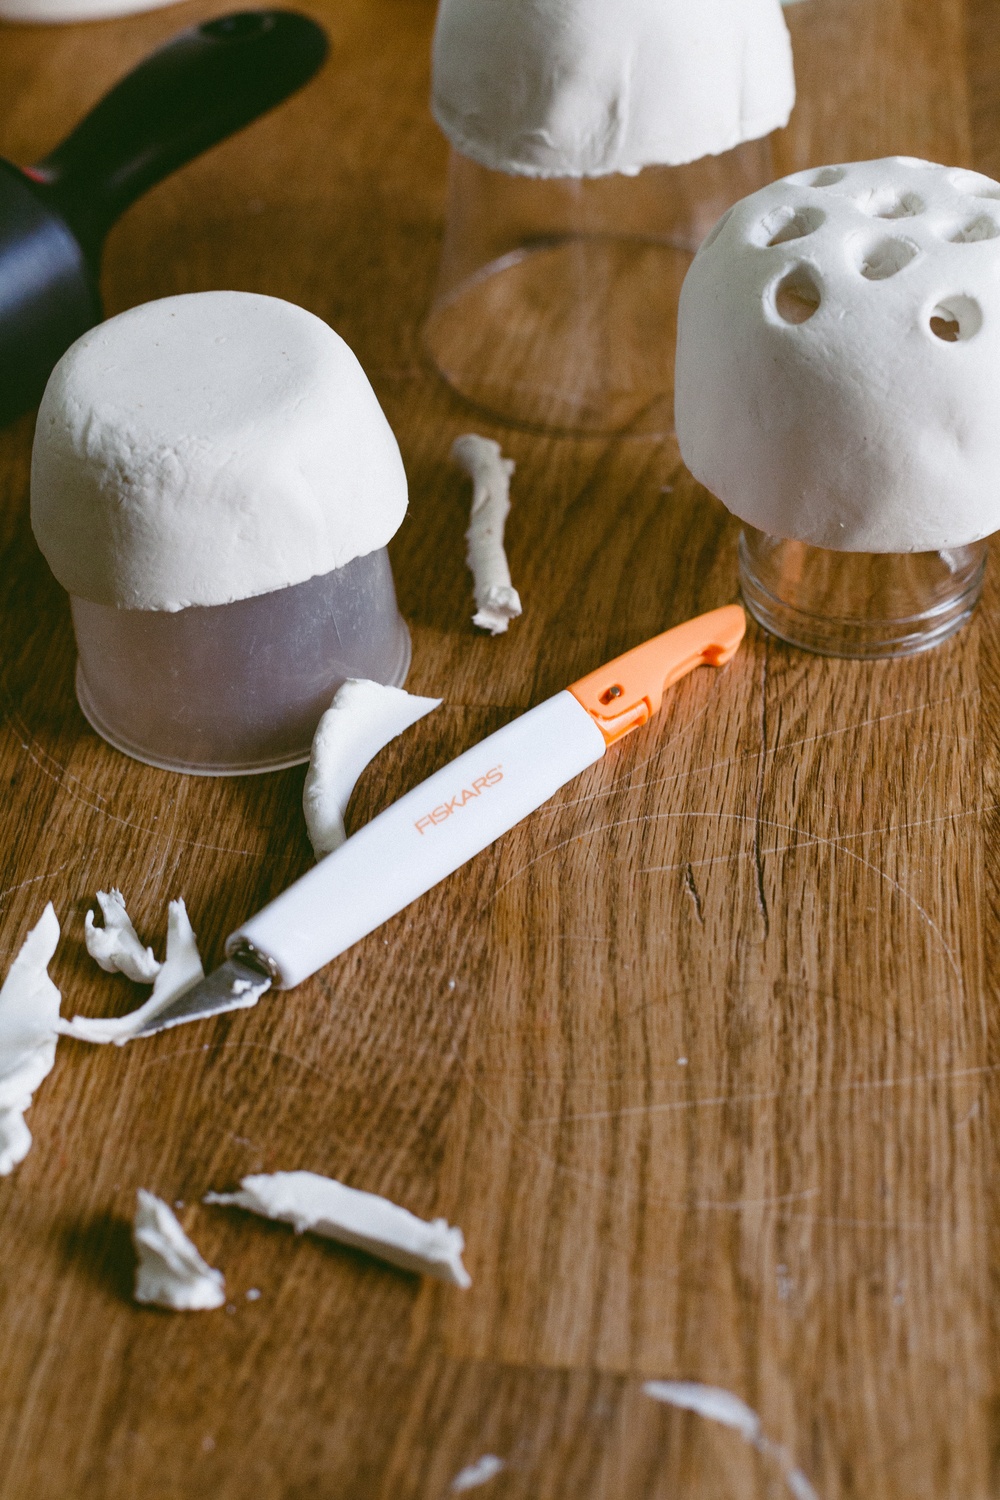
Making clay floral frogs is the most zen project you’ll make. I used glass baby jars as the mold, the straight cylinder type. Roll a small piece of clay, trim the bulk of the excess with a craft knife and gently drape it on the top of the bottom of the baby food jar.
Wrap around the edges and add rubber band over to desired height and run your craft knife around it.
To make sure it’s somewhat level, I wiggled the clay out of the mold and put it on the table to see if there were any edges that needed to be trimmed and cut those with the help of scissors.
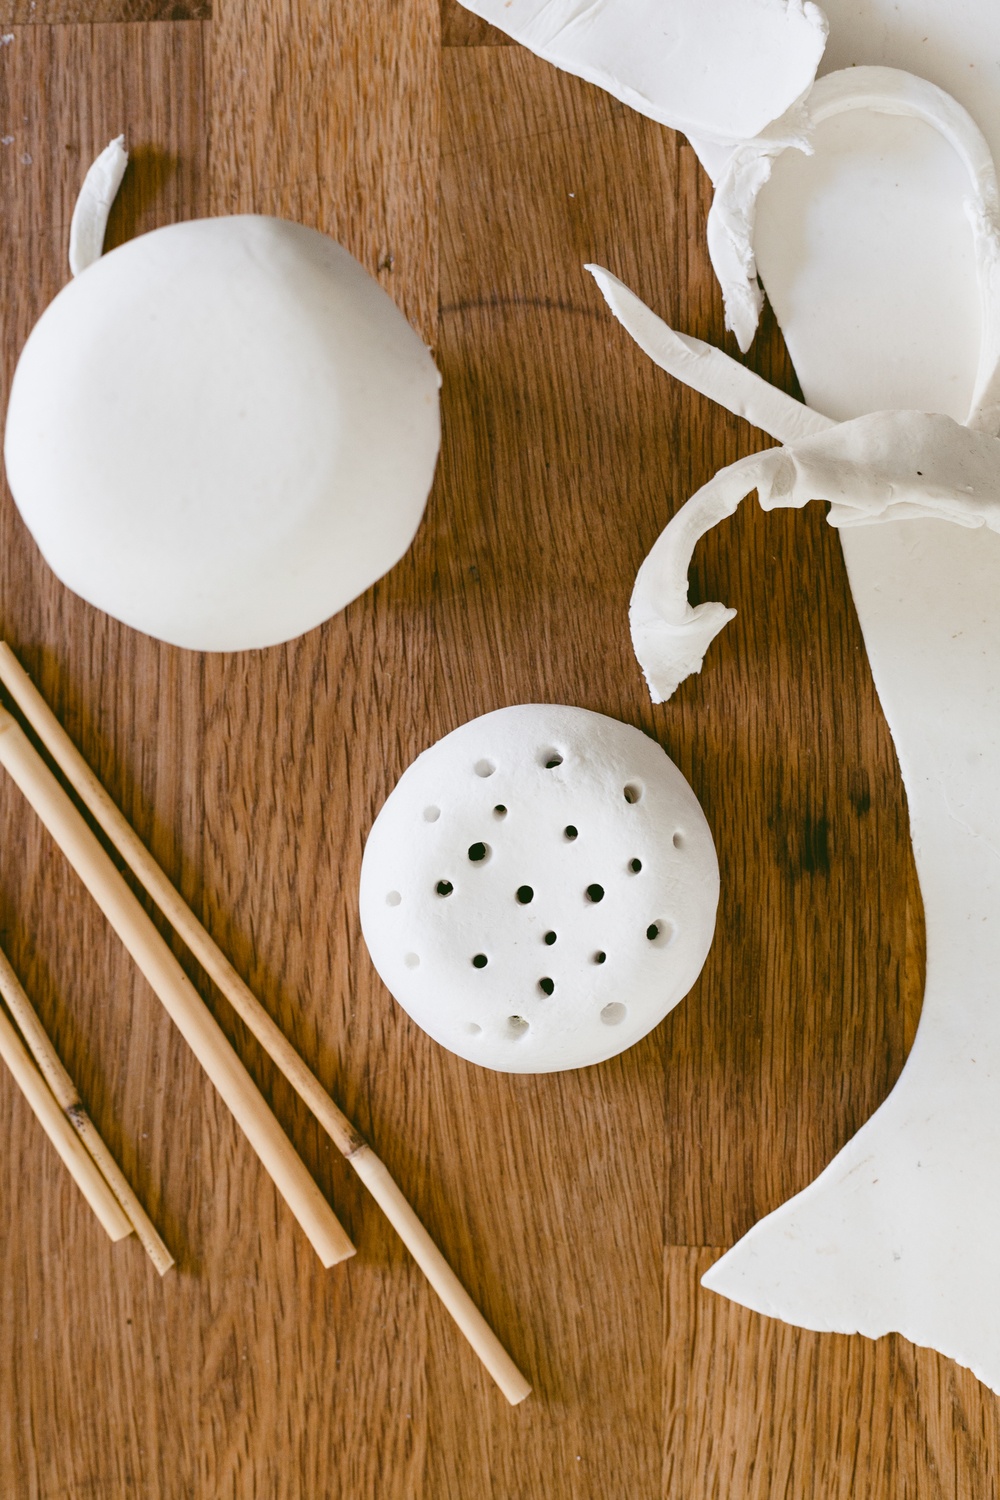
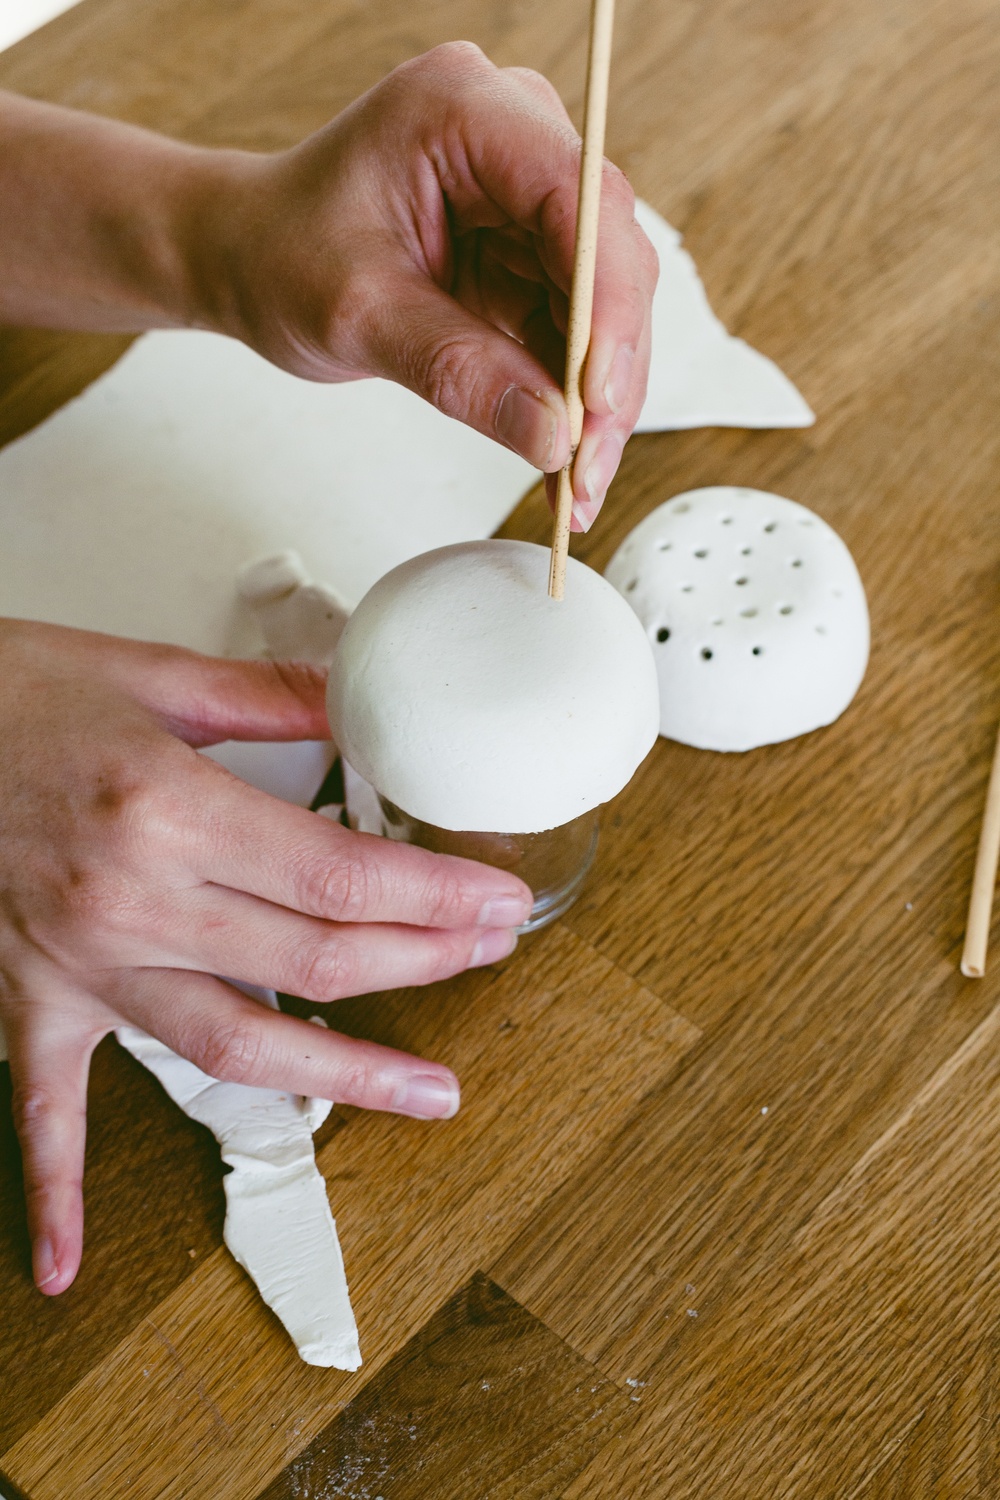
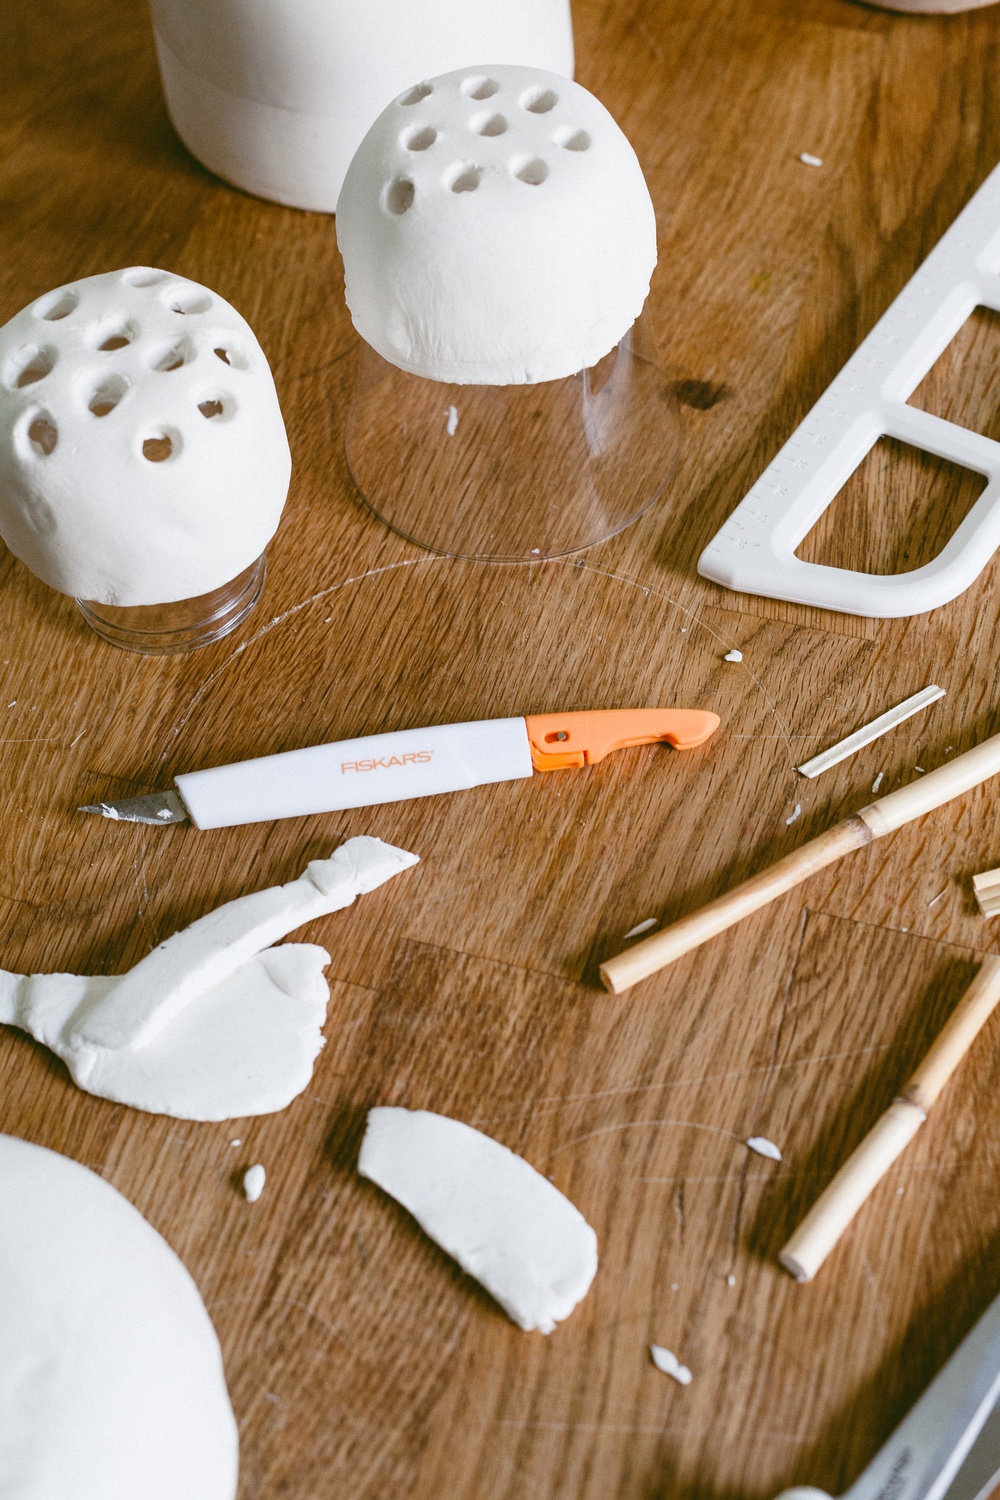
Add back on your mold, then here’s the fun part: using bamboo sticks of different thickness, start poking the top of clay bowl. You need hollow sticks so they can poke a hole and remove the inner circle at the same time. I used leftover bamboo sticks from a reed fence from another project that I’m sharing soon, but you can also use a mix coffee stirrers and regular straws. The tiny holes can be done with a toothpick.
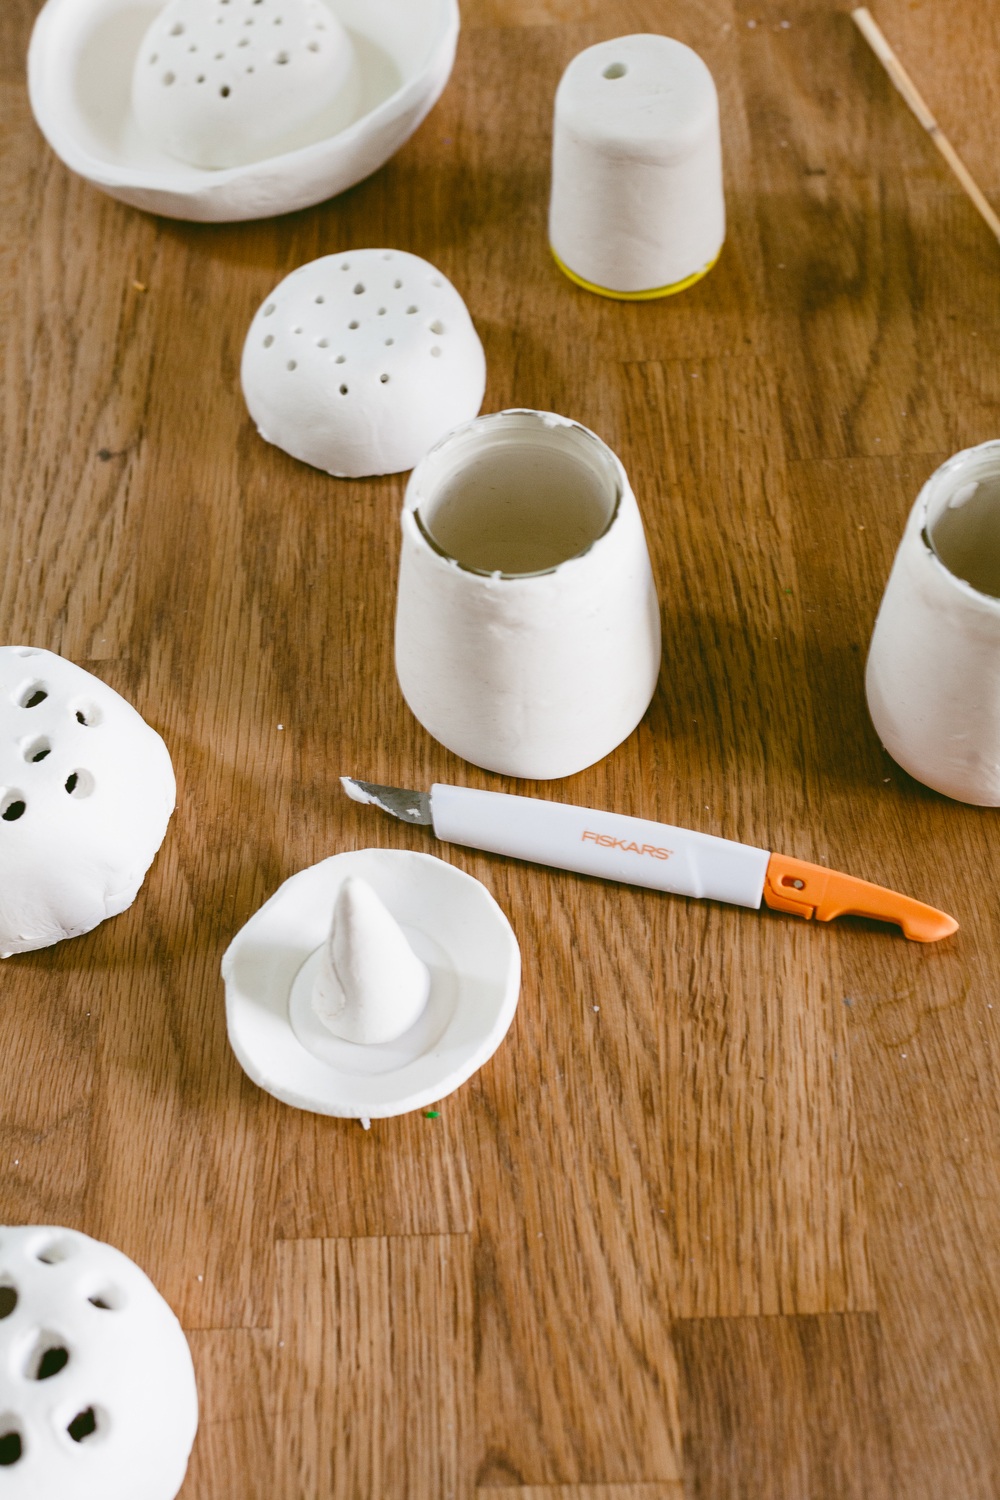
DIY Clay Bud Vases
Ahh, this is hands down the most grownup DIY you’ll ever see using baby food jars!
For this one, you can use a thin layer of clay from the leftover material you’ll have from the floral frogs.
Roll the baby food jar on the clay to mark a template and cut the lines with a craft knife. Wrap the precut clay sheet around the jar, press the seam with your fingers and squeeze the bottom by pressing it against the table.
Run the top edge with your fingers to cover the glass lip and just let it dry.
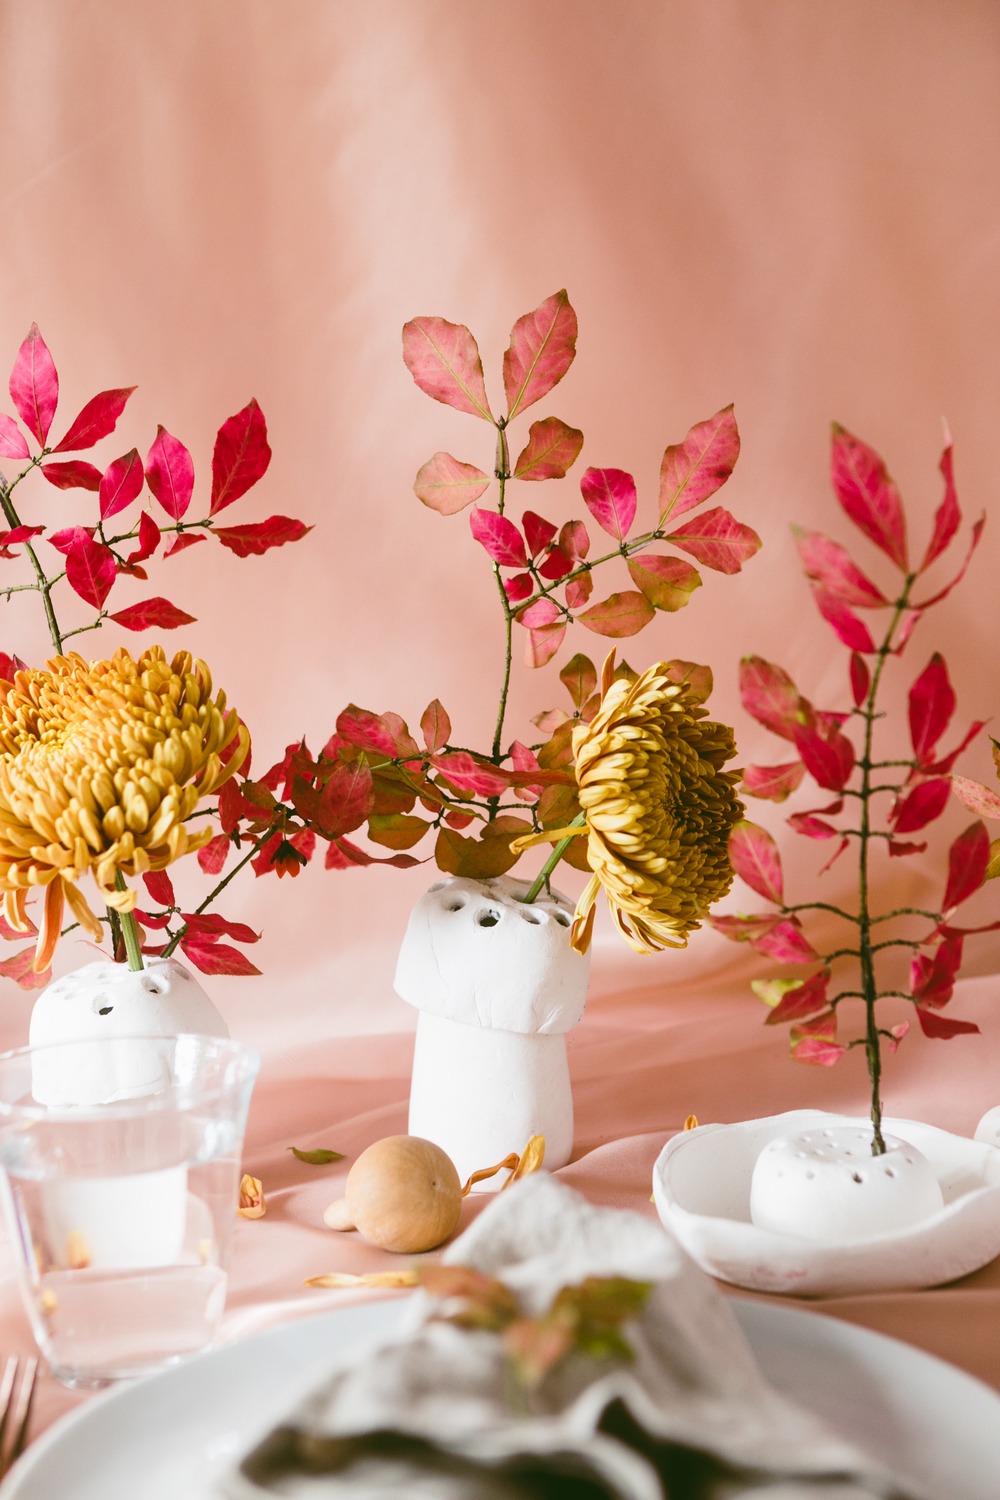
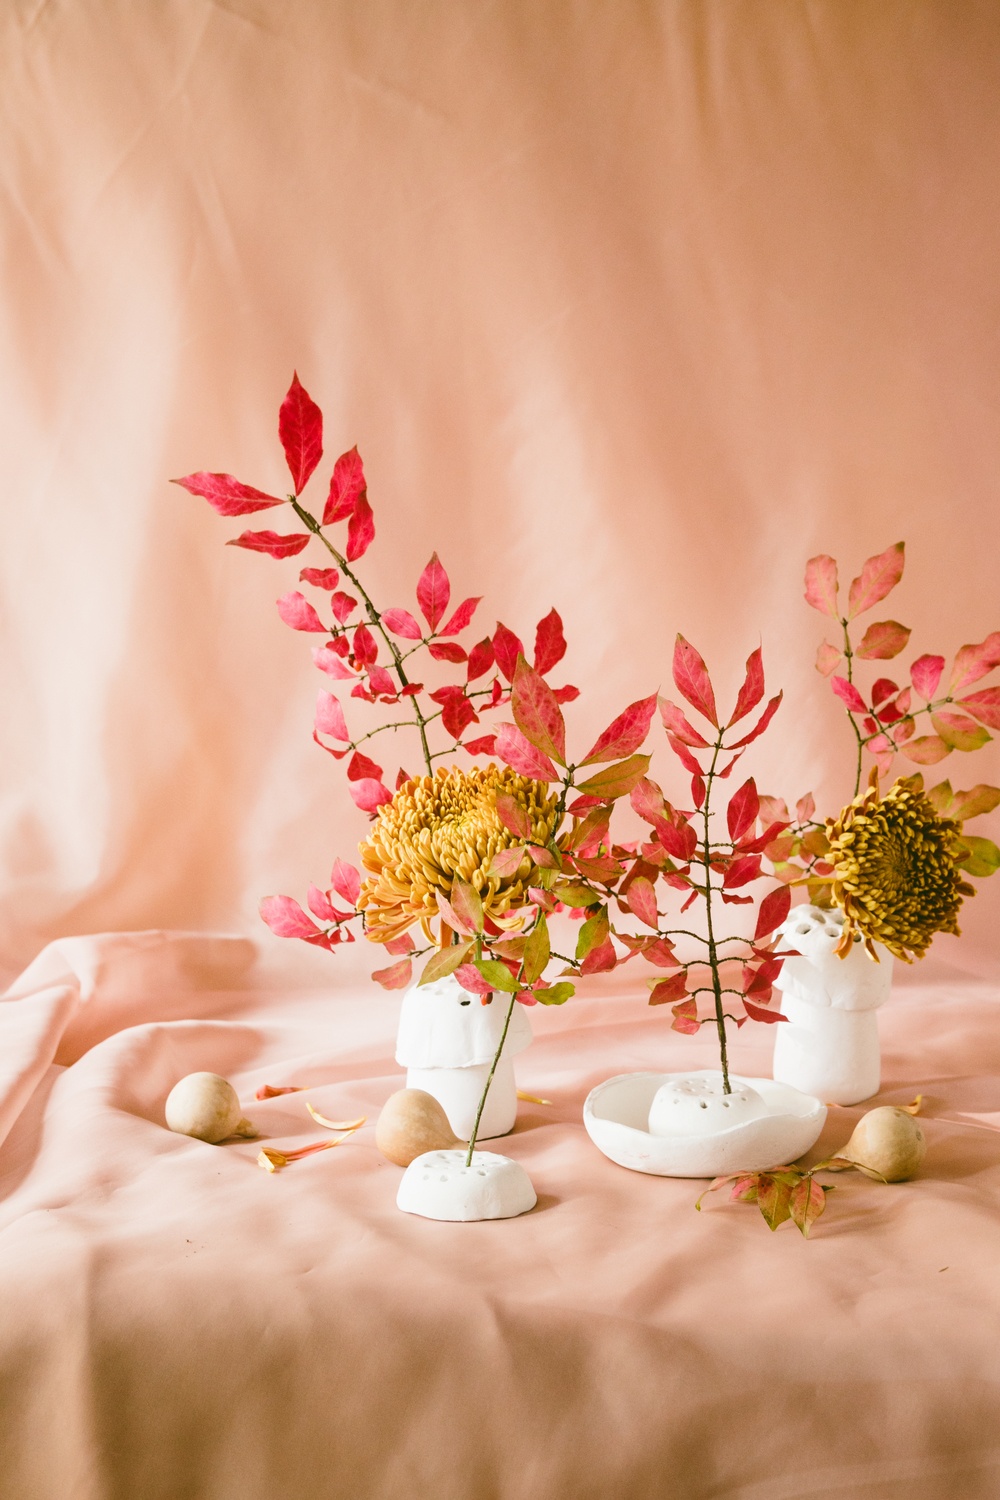
My favorite part is that these little cuties make a whimsical mushroom-like floral vases when you add the floral frog on top.
DIY Ring Dish
I had a small amount leftover so I rolled it into a ball and press a baby food jar against to make a small ring dish then I cut the edges with scissors. Huzzah!
Now… you have to waterproof it if you’re adding water to the shallow bowl like I did or if you’re placing the floral frogs at the bottom of a vase with water. I tried a couple of different methods to waterproof the bowl and frogs but nothing quite worked. A clay pot sealer or spraying polyurethane will make it water-resistant, but not waterproof. In fact, my shallow bowl nearly melted in less than an hour with just a few coats of clay pot sealer.
Make sure you add a generous coat or two of clear cast resin to waterproof it. You can do it with thick brush strokes or dipping the entire bowl in resin (recommended). I’ve had these DIY Clay Flower Frogs for several months and have held up beautifully!
Check out their website or follow Fiskars on Facebook, Twitter, Instagram and Pinterest.